Adventures in Plaster
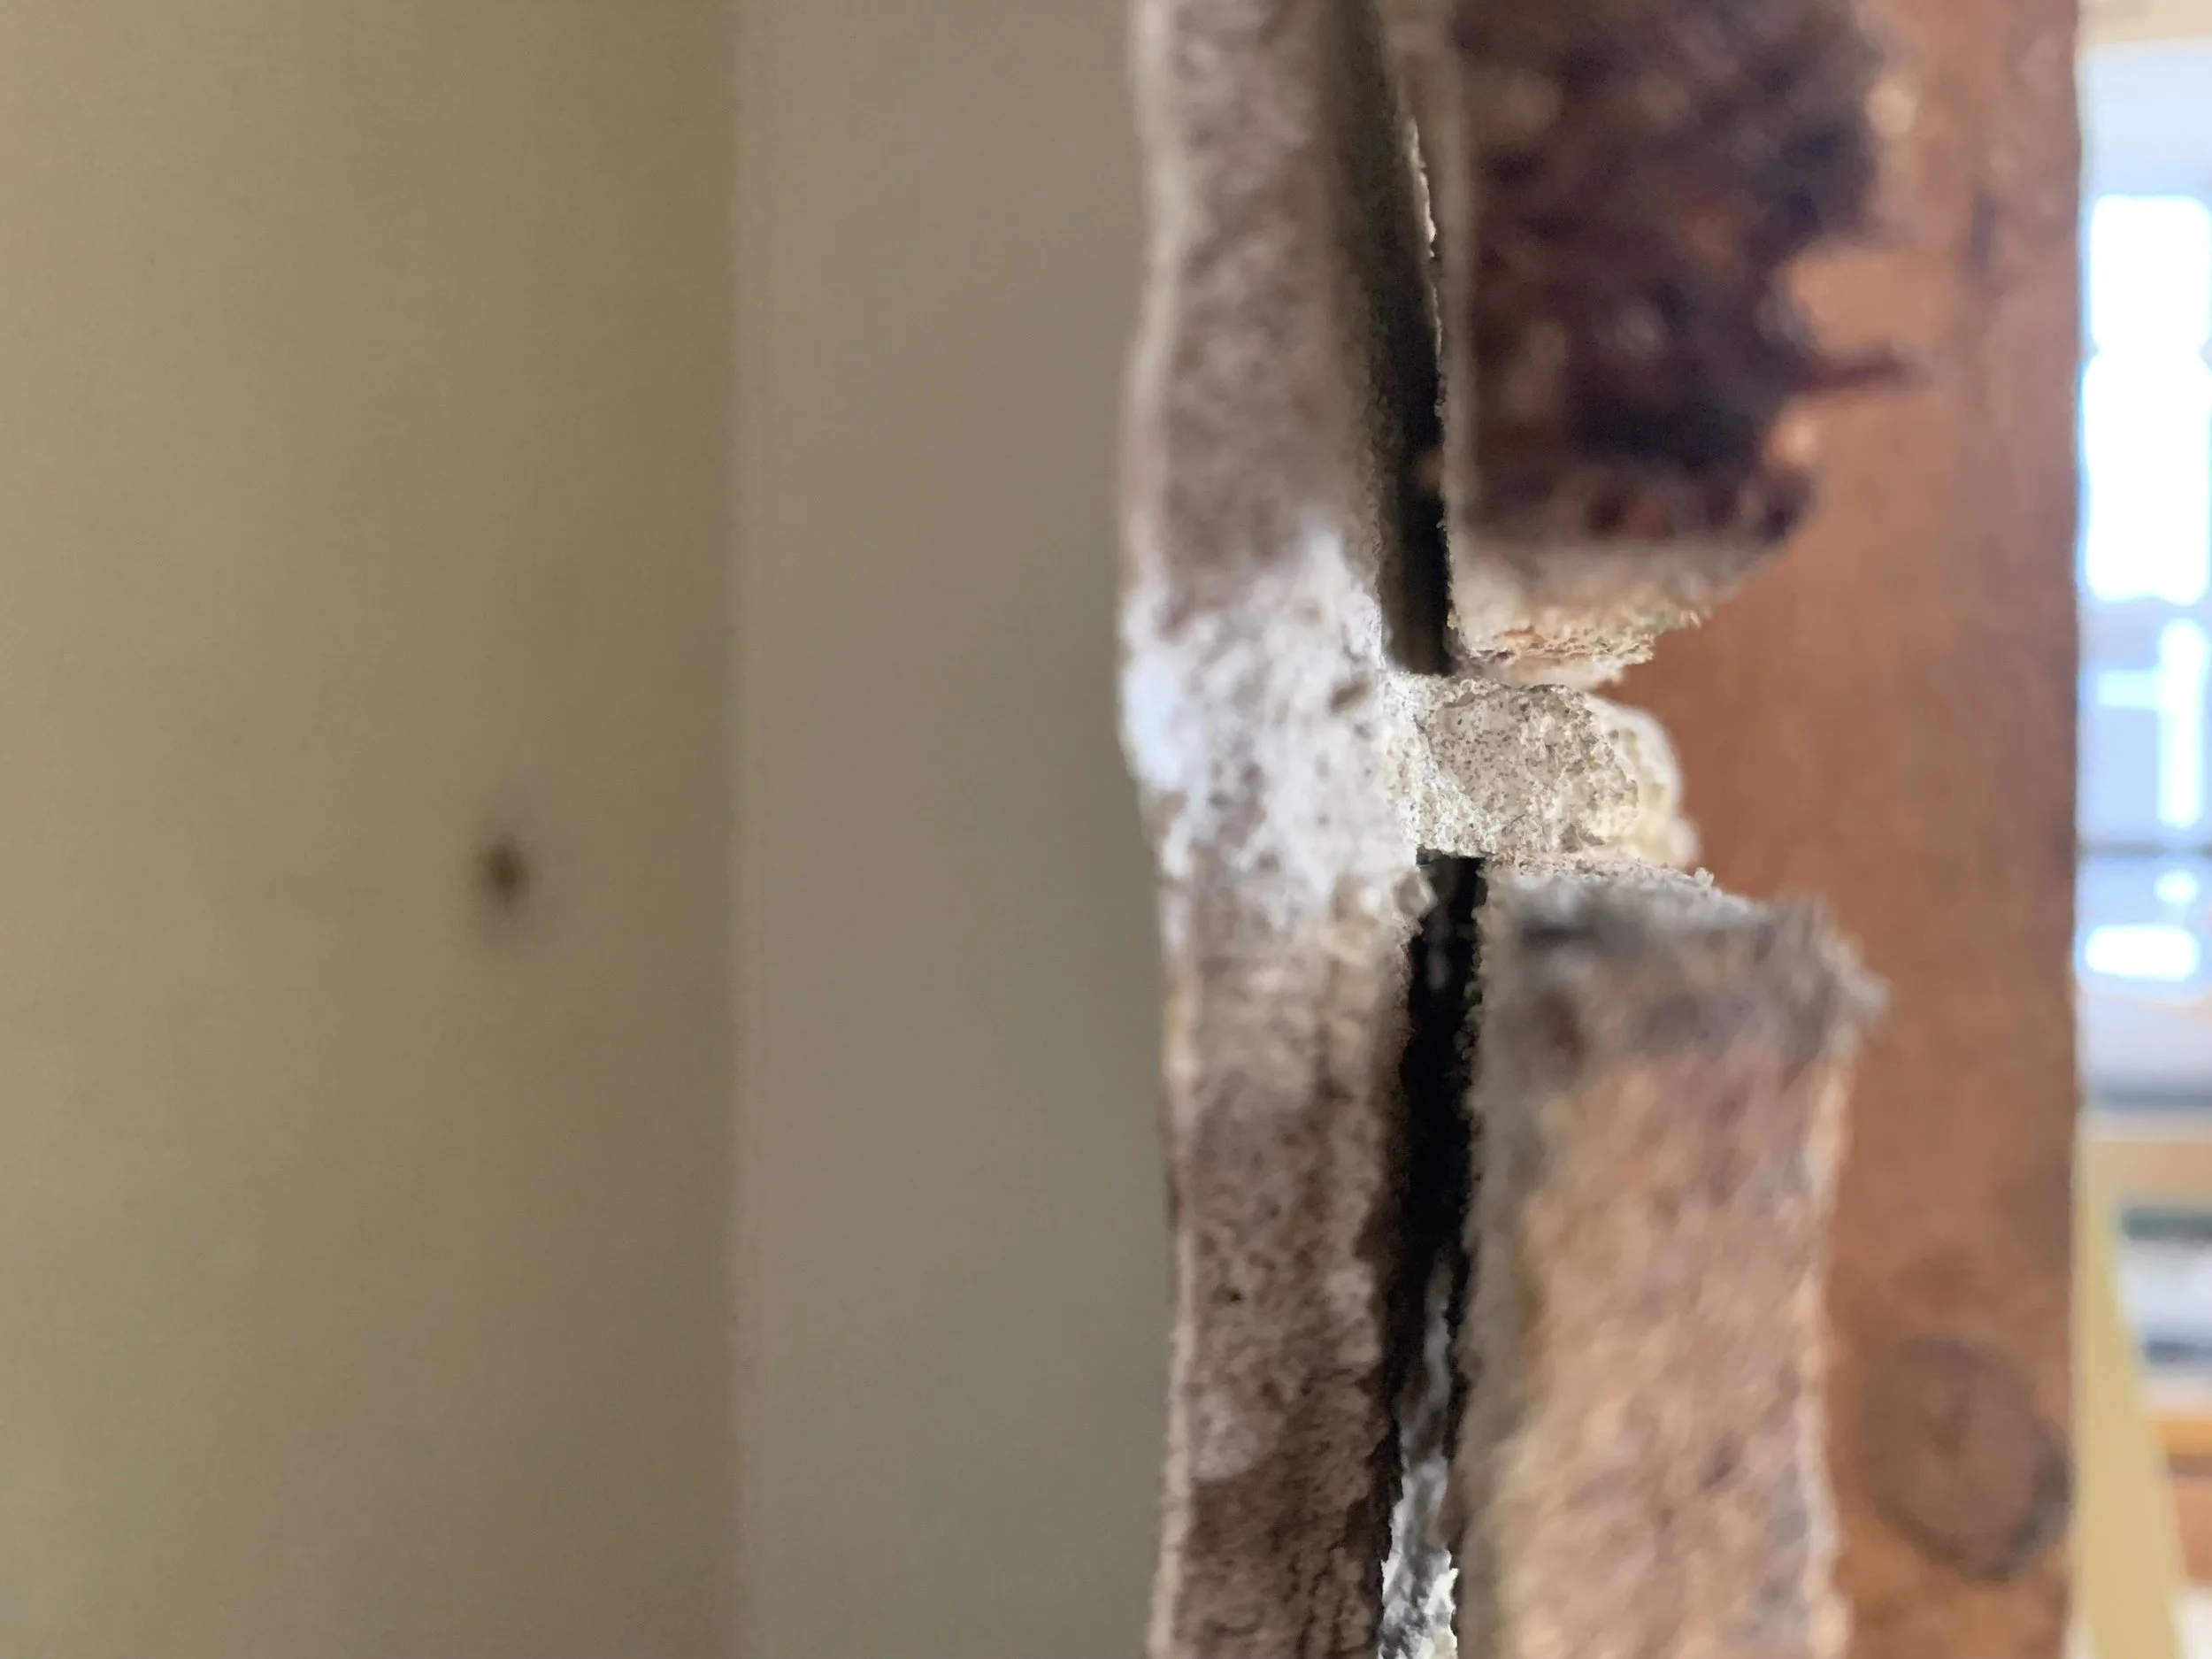
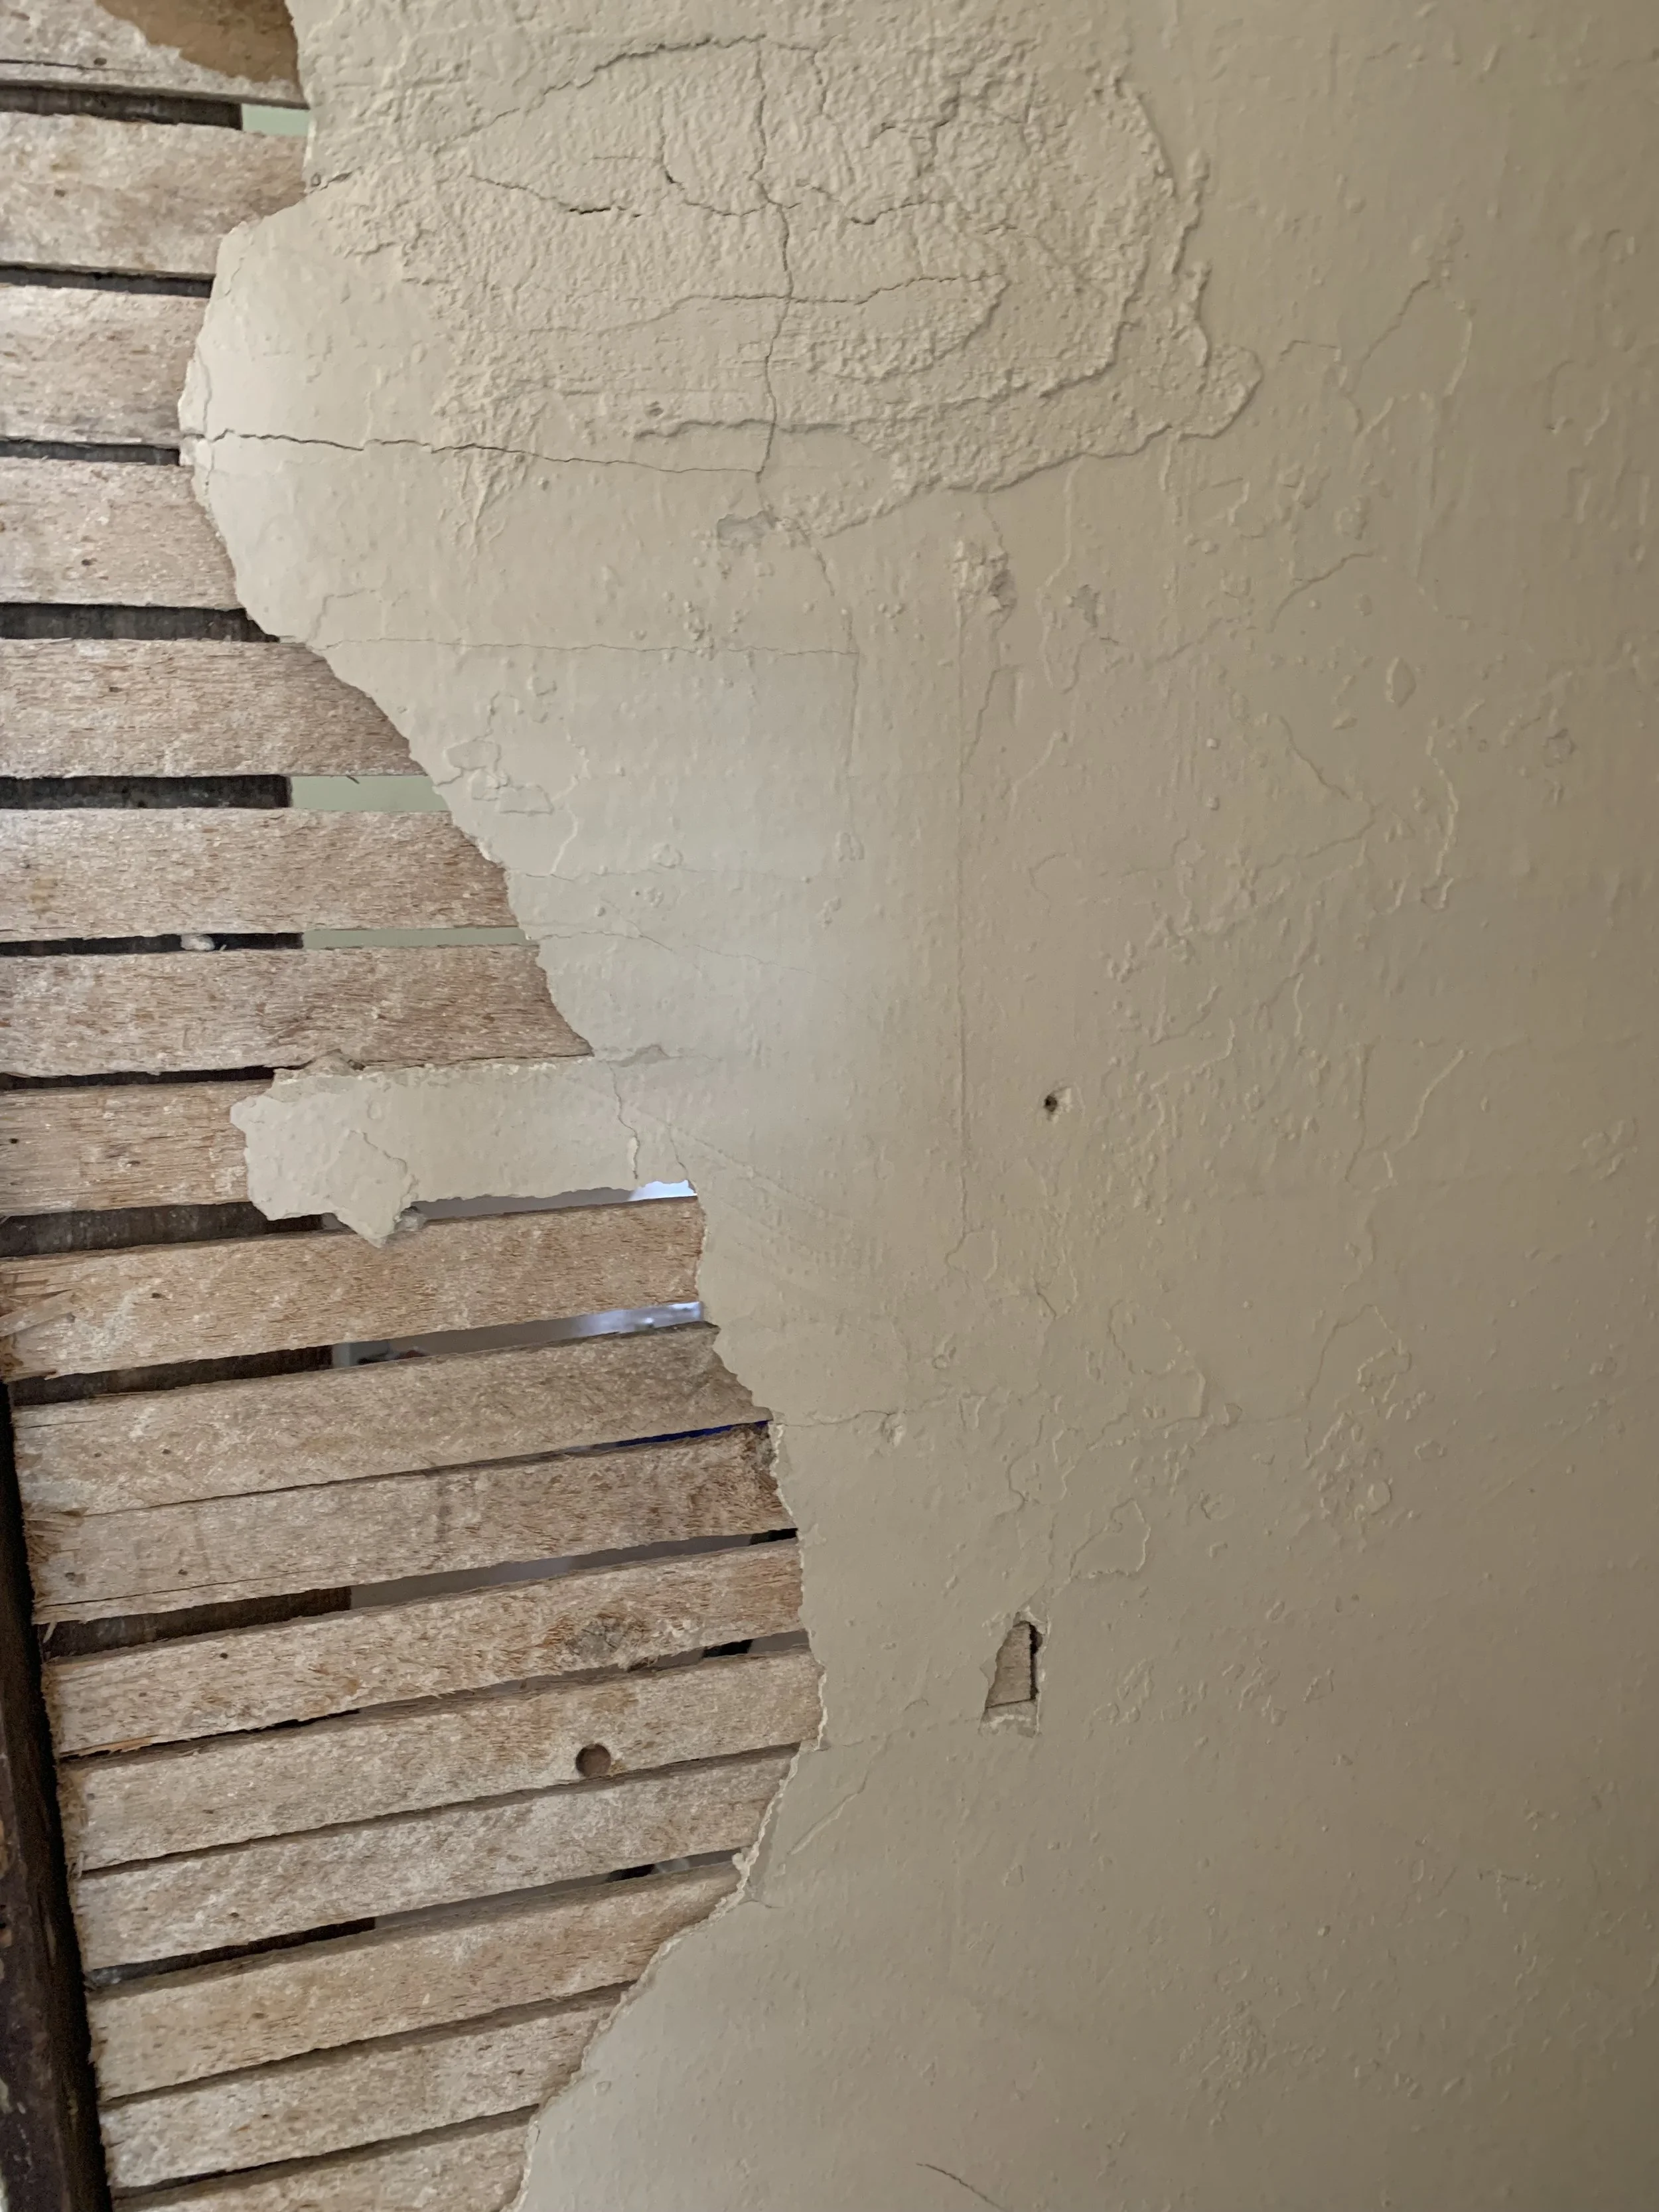
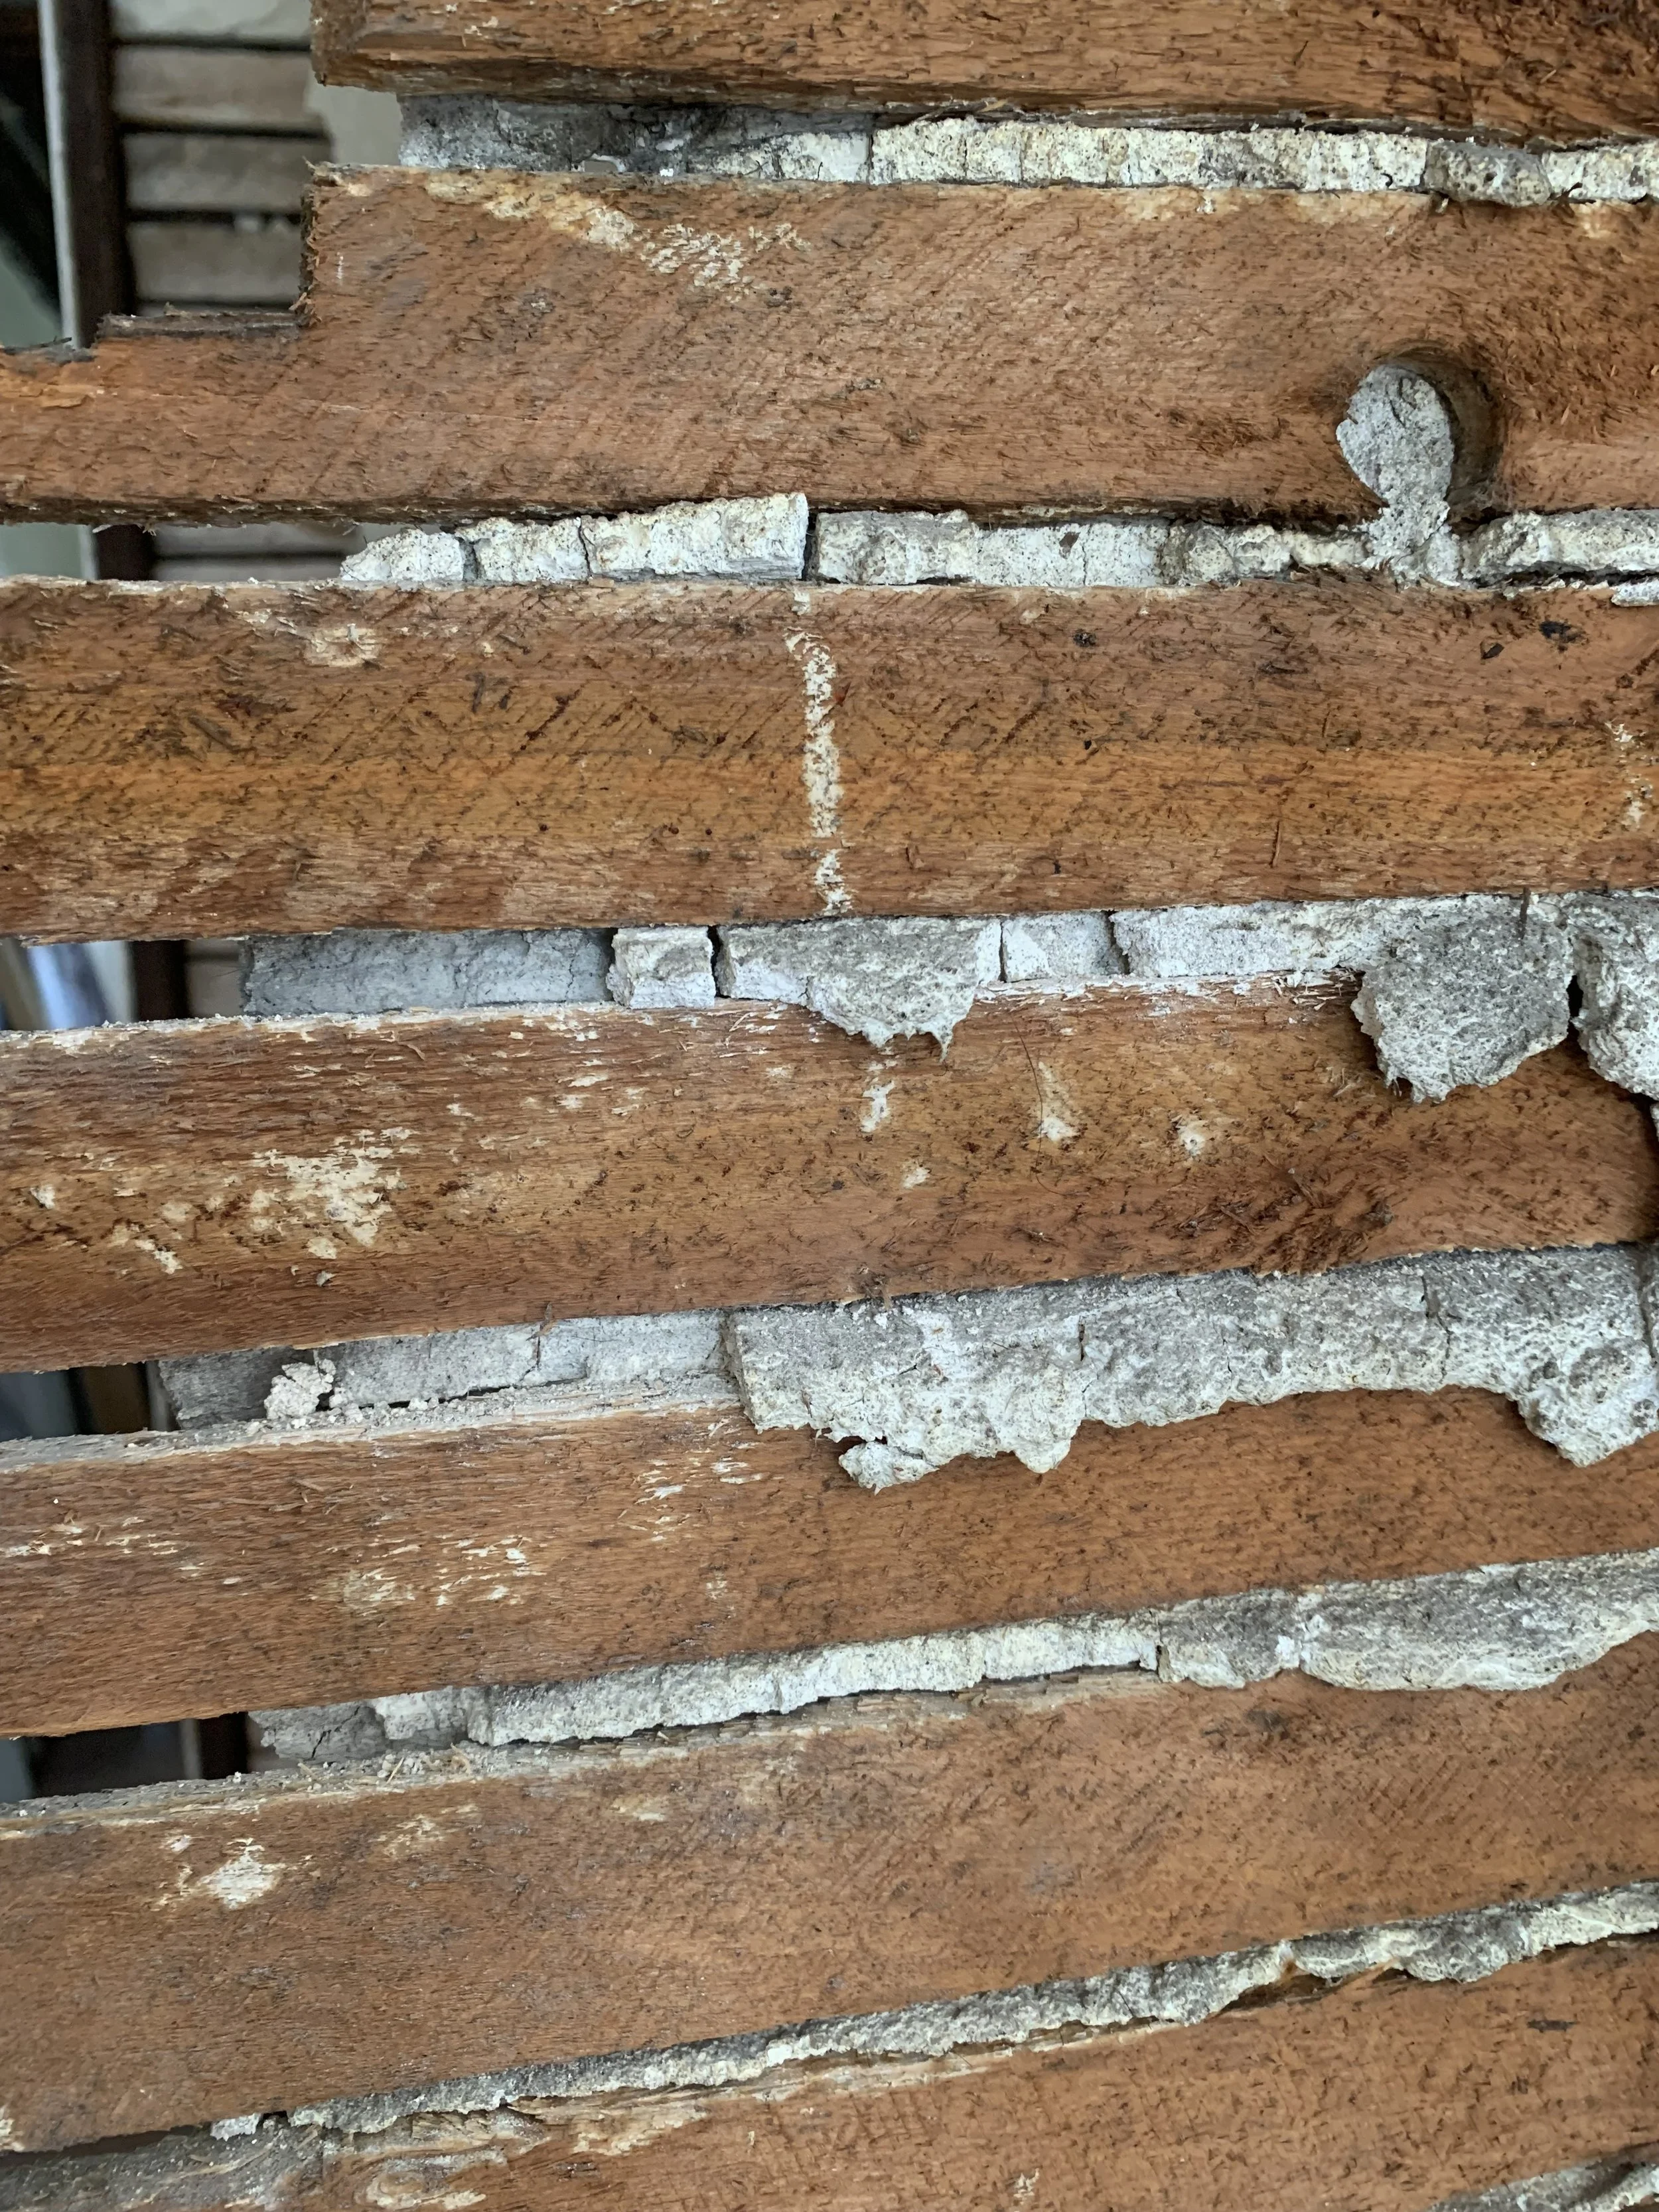
cross section of a plastered wall (detaching plaster left; lathe right)
Plastering as a process takes a lot of time, and it should: rock hard, plaster has been protecting against fire and providing noise and thermal insulation since around 7000 bce, eurasia. It’s pretty perfect as an interior wall treatment. Lime, sand, gypsum, cement, horsehair, rock, and lots of other stuff can be found in plaster. That’s why plaster weighs tons. Despite our complaints about crumbling plaster ceilings, it’s amazing to think that so much plaster remain intact, despite the pull of gravity.
Alas, the plaster in our current project is fickle. Sometimes it’s our best friend (beautiful and rock solid), but most of the time it’s our nemesis (pulling away from ceilings and walls, falling down, creating squalls of dust, and generating tons of waste.)
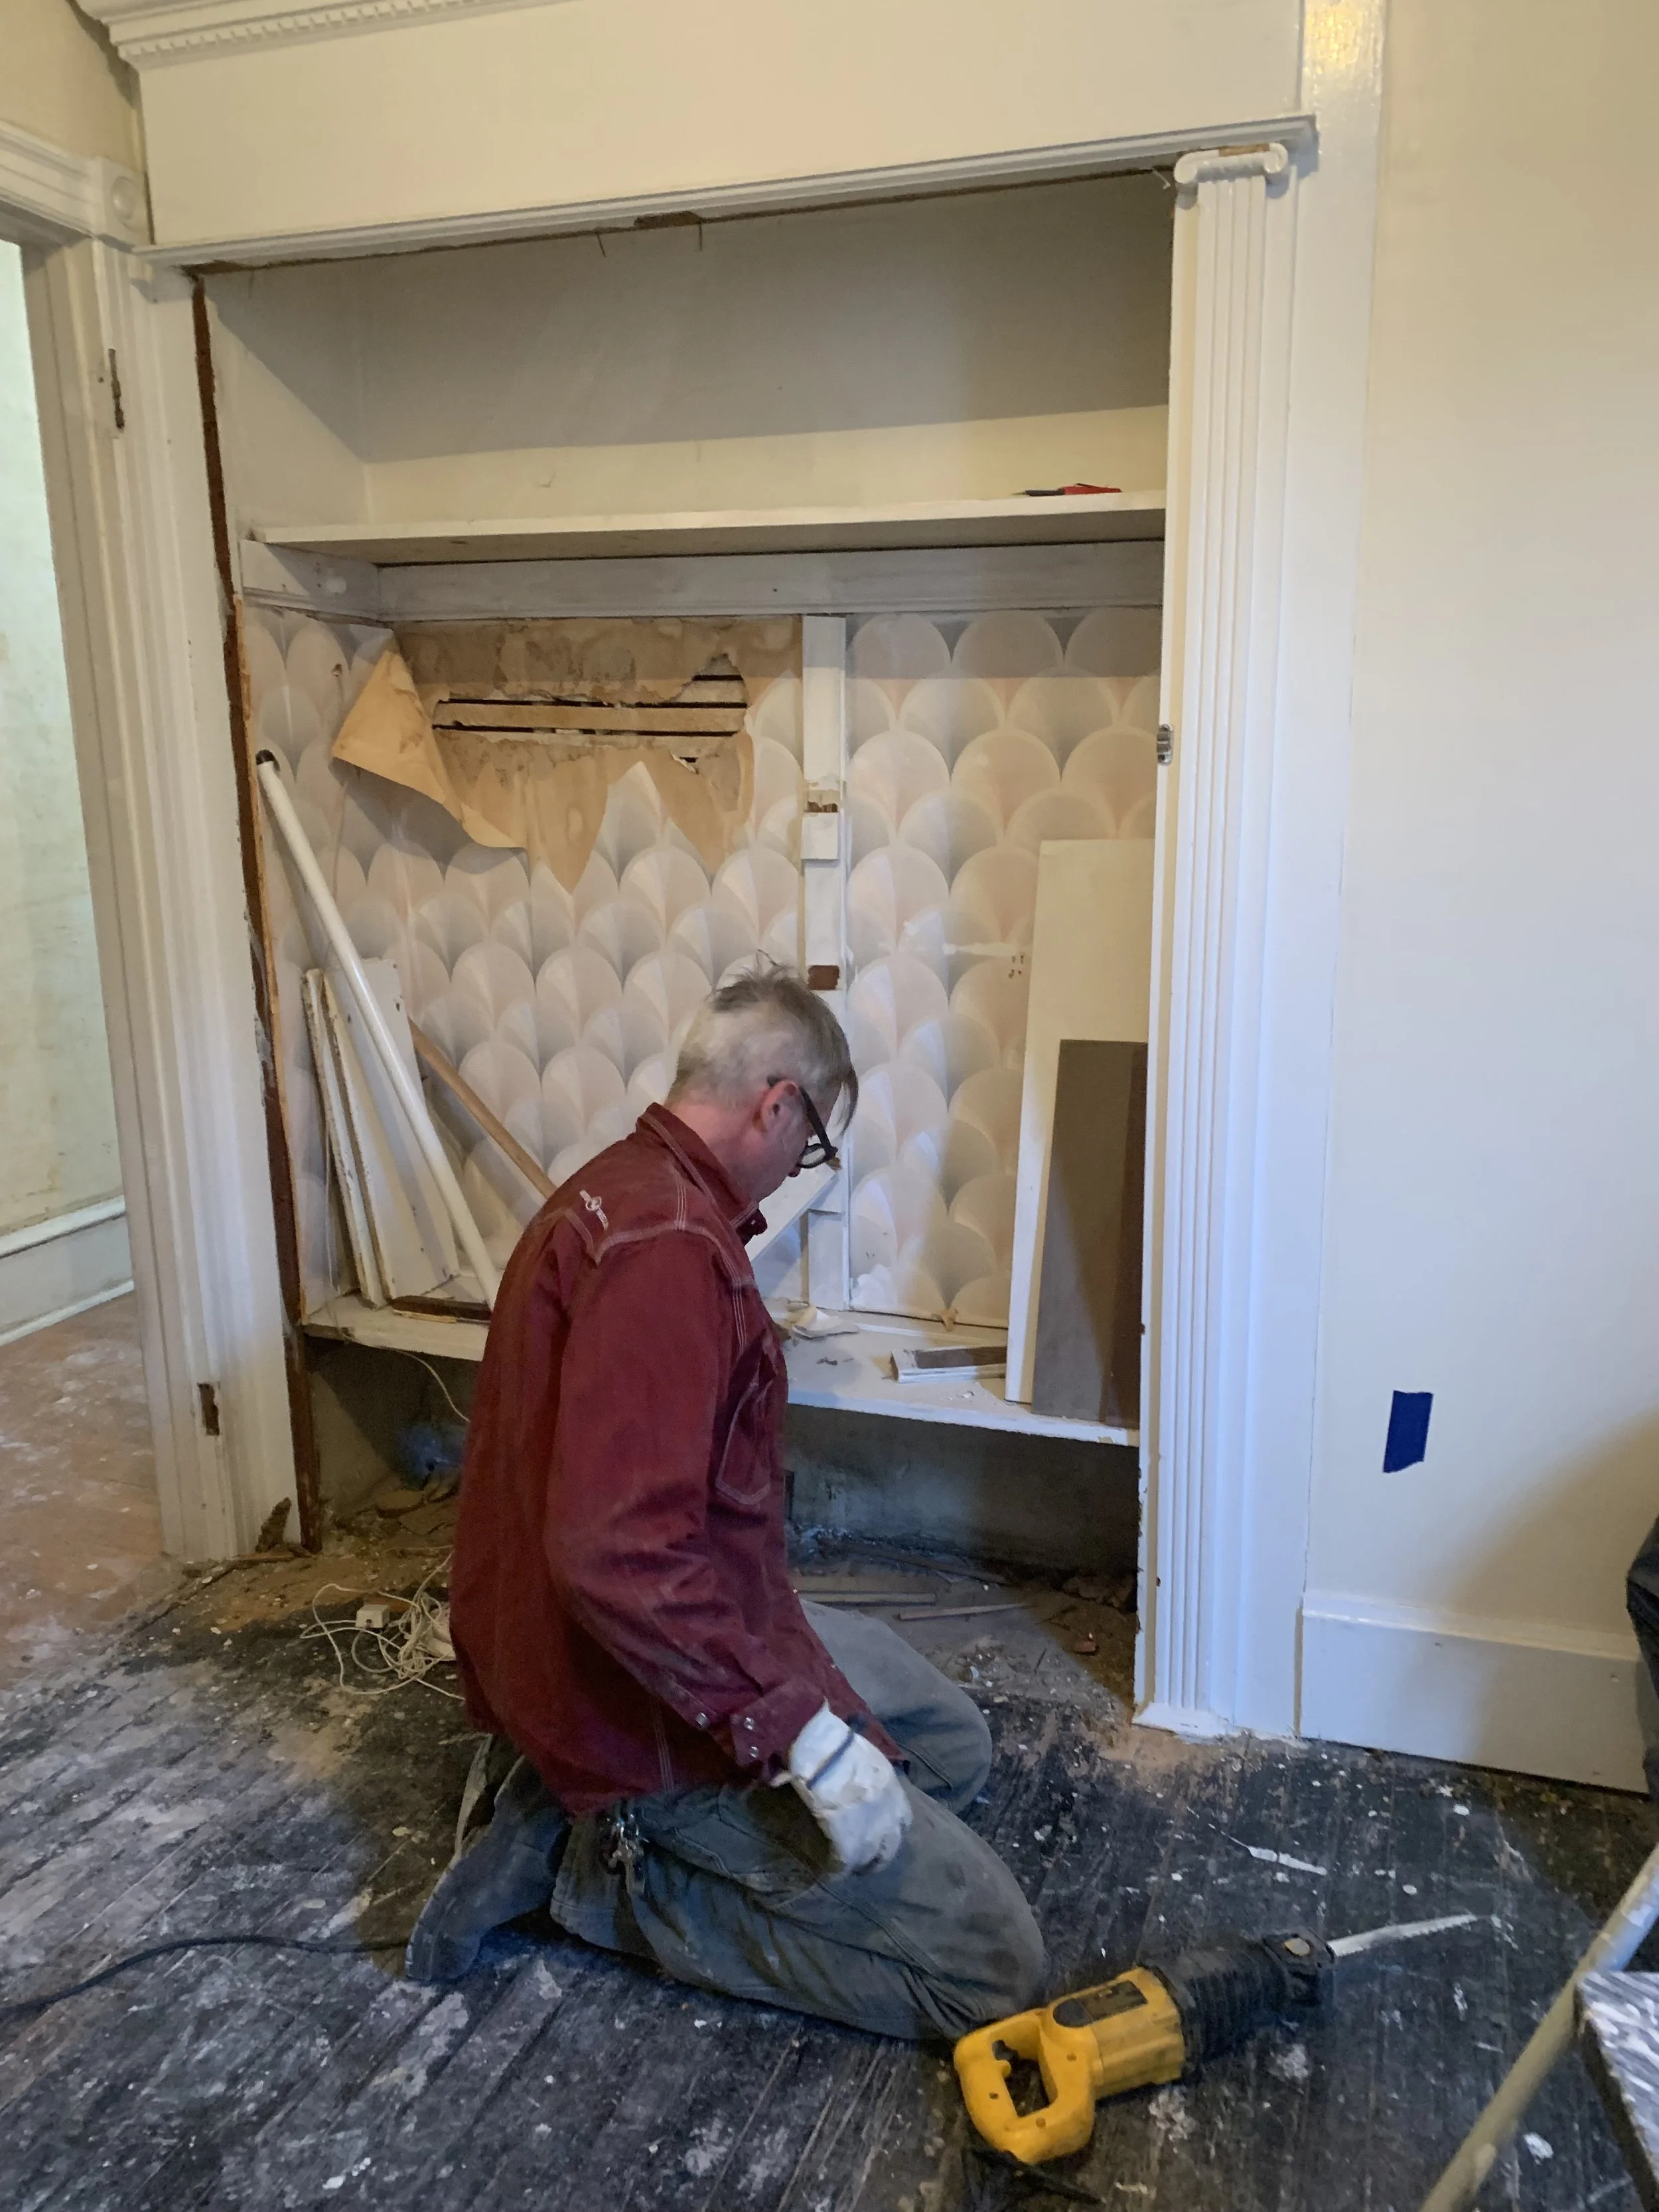
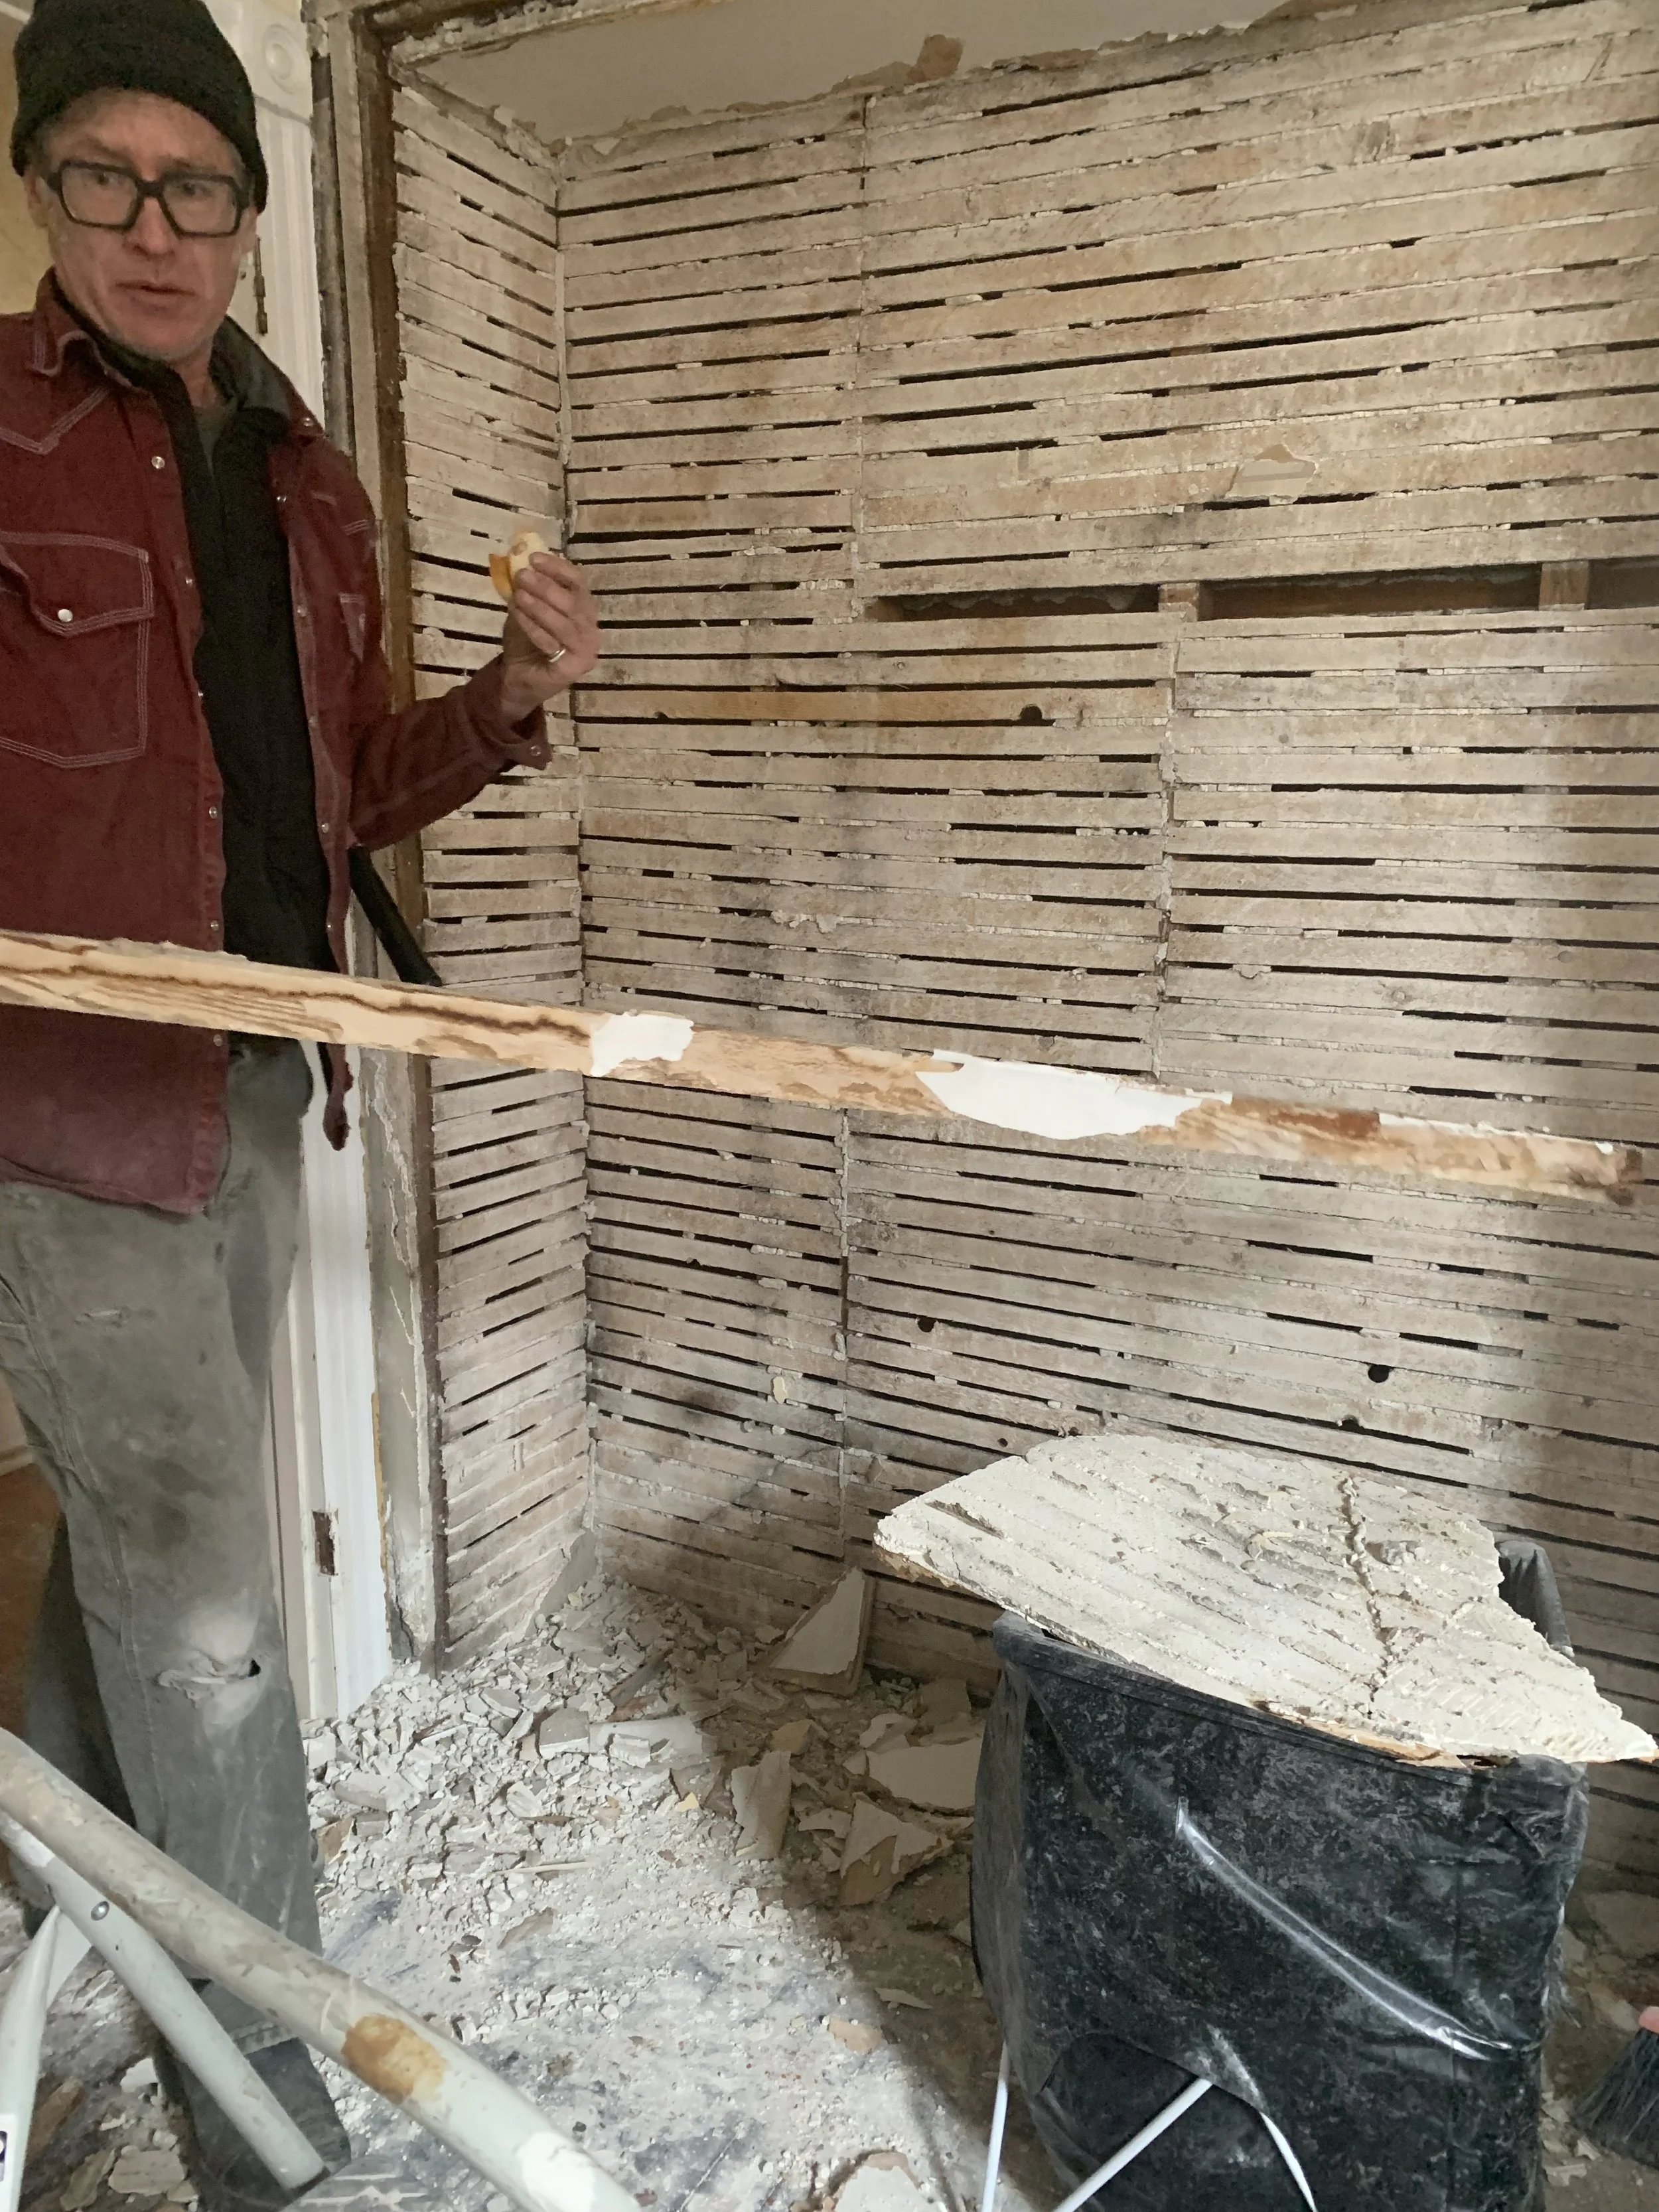
Here are some snapshots of the removal of plaster from our daughter’s bedroom closet:
before
after
Since these original bedroom closets were too shallow for standard clothes hangers and this closet didn’t have the original doors, it was an easy decision to remove the plaster. As it turned out, the wallpaper was holding the plaster together so the removal process for this space was really quick. Would that this had been the case for the kitchen, dining room, and office. (More on the work on those rooms will follow!)
Plaster 101
How plaster works
Before plaster can be applied, lath boards (around 1 ½” wide x four or six feet long x ¼” deep) are spaced apart and then nailed horizontally across masonry or the vertical 2 x 4’s studs framing the walls. Then wet plaster is layered over the lath with a trowel. It works, or stays connected to the ceiling or wall, because the wet plaster forms a bond on the surface of the lath and then oozes between lath slats to make keys on the backside. The bare lath and partial plaster on the left image below shows plaster that was pulling away from the basement stairwell wall. The oozing but solid white plaster in the right image below demonstrates functioning, whole plaster keys that anchored, or attached, the plaster to the lath as additional layers of plaster were troweled onto the wall to create a resilient and smooth surface.
Part One: Removing Plaster
Remove plaster first.
Remove lath last.
Keep tools like crowbars and shovels handy.
Wear safety glasses, head coverings, masks, and gloves: plaster dust is pervasive!
Place a receptacle, like a contractor bag, below the workspace to catch the falling plaster—it minimizes clean up as well as plaster dust.
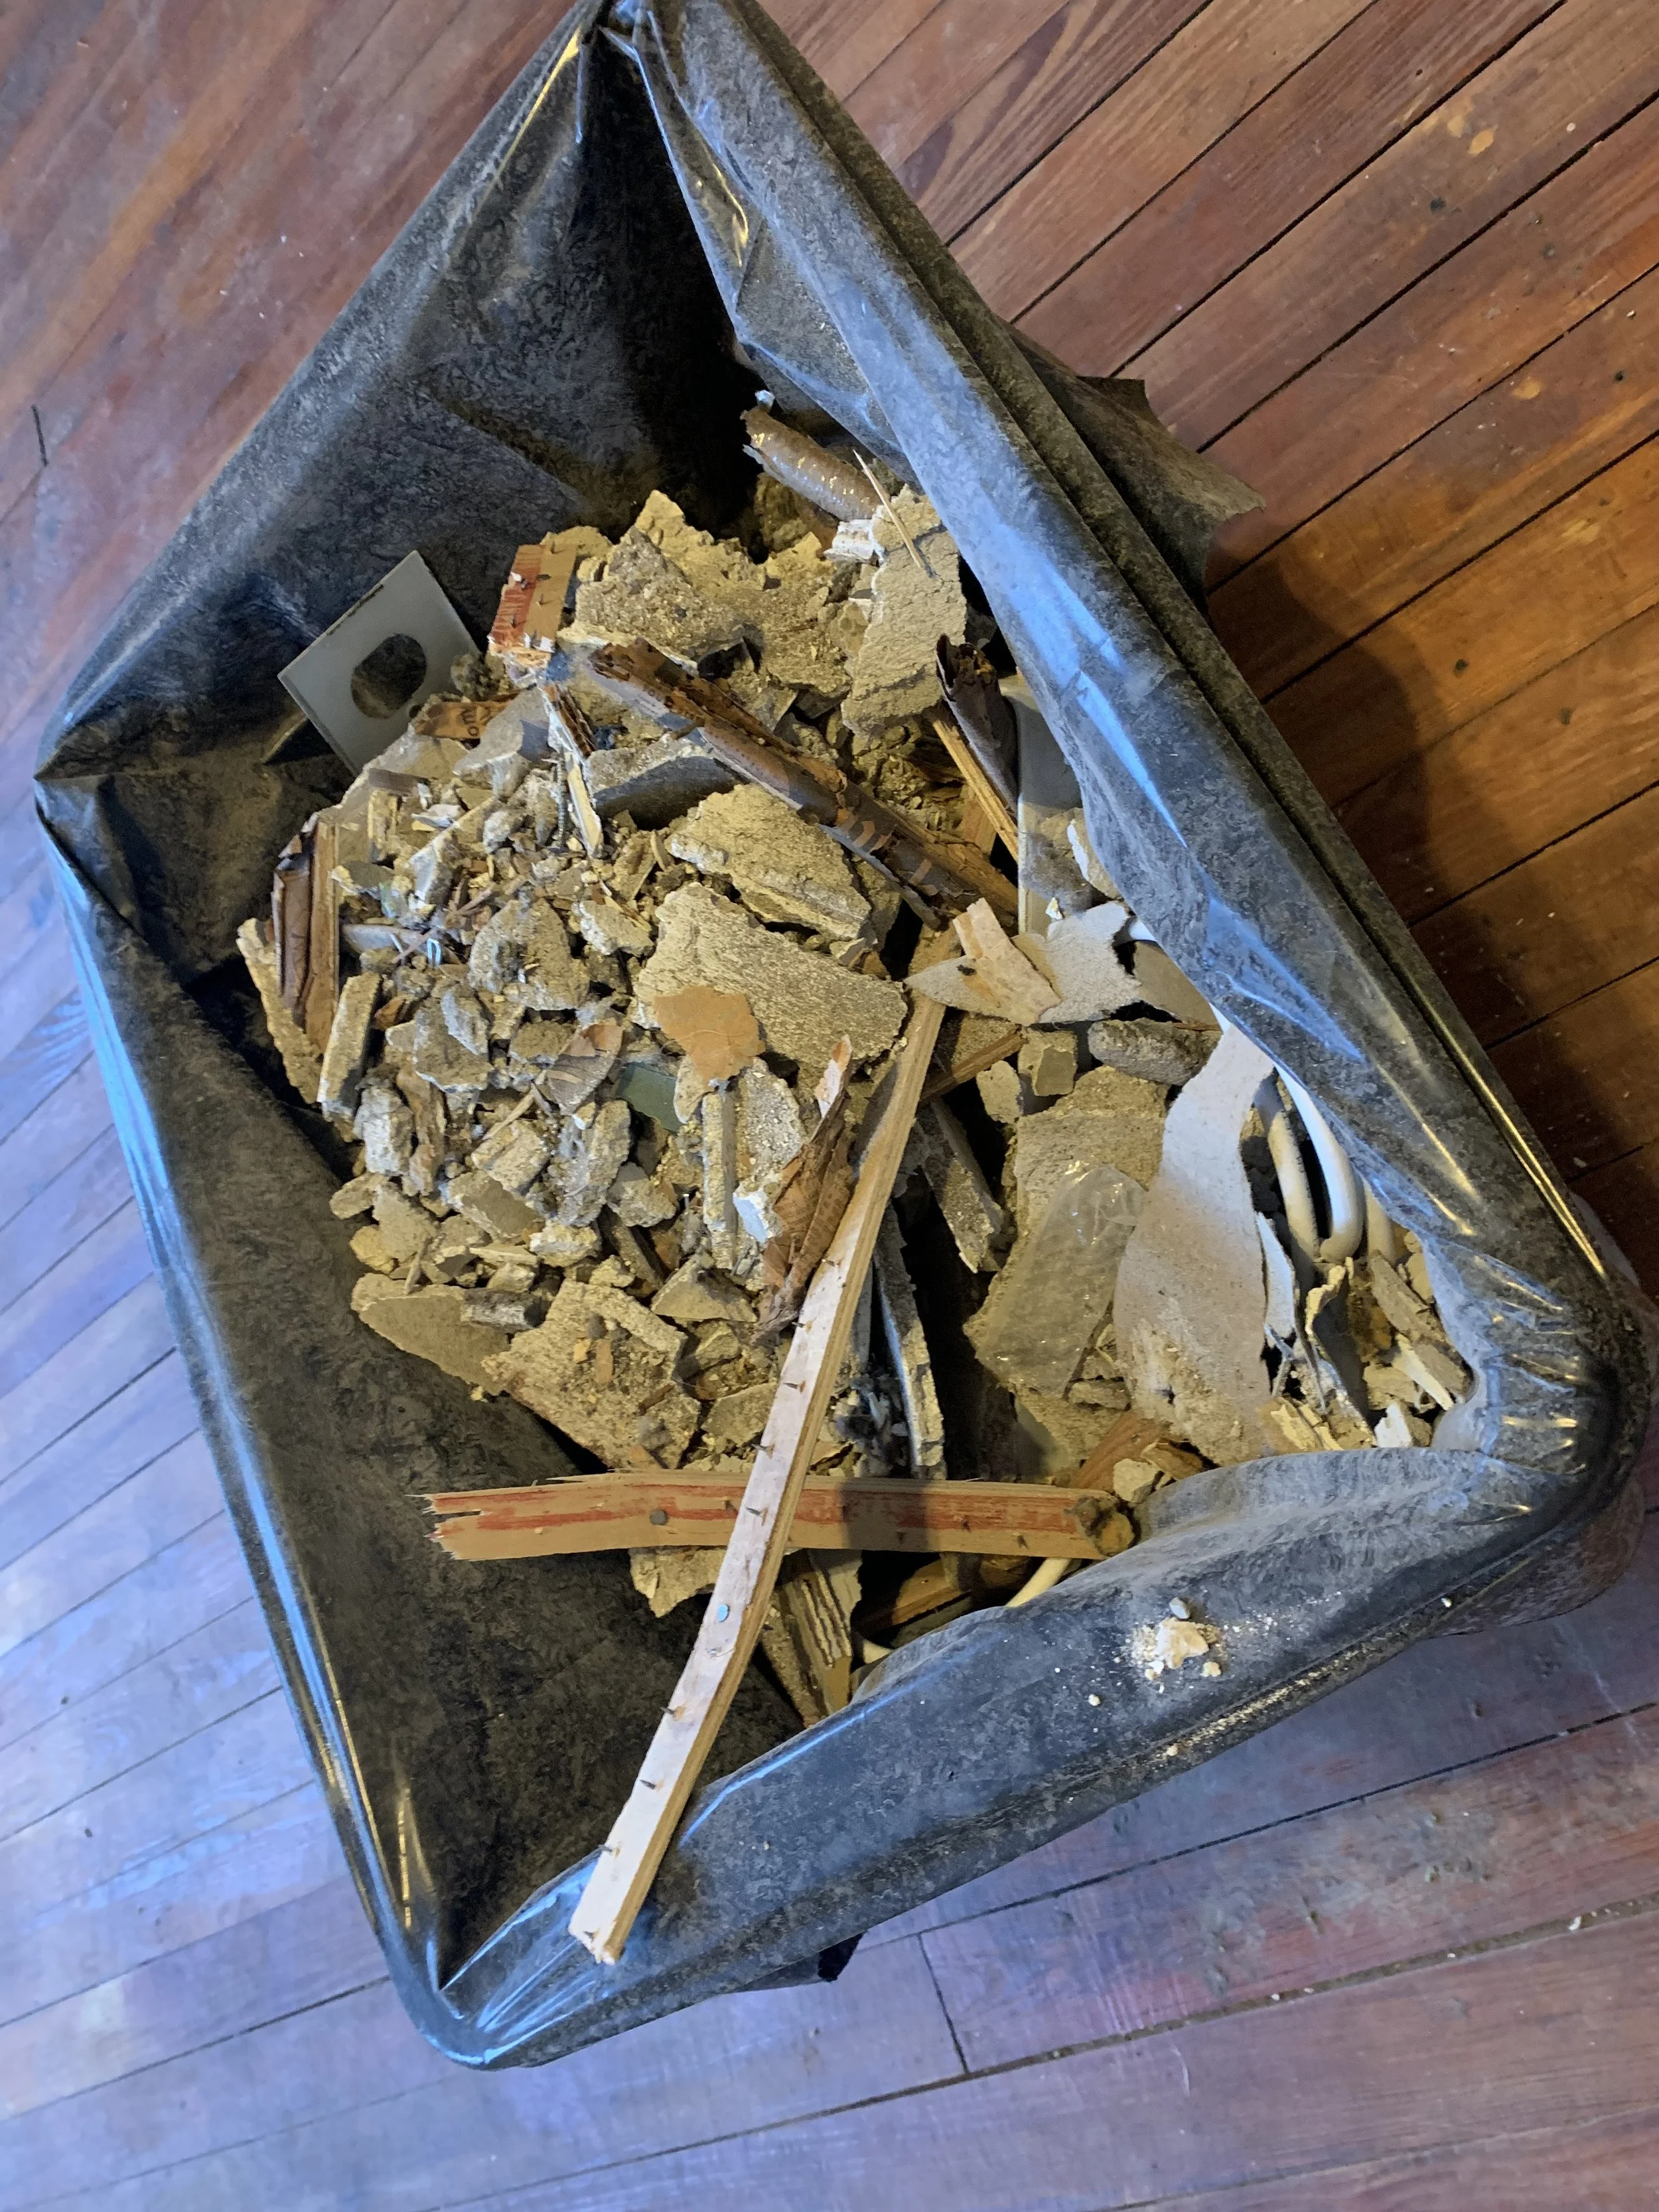
Limit the amount of debris in each bag: a 5 gallon bucket filled with plaster debris weighs about 50 pounds.
Part Two: Re-securing plaster
After surfing the web for DIY plaster repair, K8 landed permanently on BigWalleze youtube channel. Some may find these videos dated and slow, but Rory, the host, gives really clear step by step directions for DIY plaster ceiling, lathe and broken surface repairs. For instance, it turns out that the initial keys, the ones that are formed in between the lath during the application of wet plaster, can disintegrate. Without keys, plastered surfaces are no longer secured and fall away from the lath.
To gauge the status of your plaster, simply go around your house and gently push on your ceilings and walls. If they’re solid: no worries! If there’s some give, it’s time to re-secure those portions of plaster before you end up needing to remove tons of plaster as we did. BE CAREFUL: if you shove too hard and the plaster is already detached and brittle, the plaster will crack, chip, or just plain break off.
K8 decided to follow Rory of BigWallezes examples and learn how to re-secure plaster wherever possible. Like most of the cpk8renovate, the decision was based on economy: it’s less expensive and time consuming to re-secure plaster than it is to patch or cover it with drywall. To gain confidence, K8 practiced on the rapidly deteriorating basement stairwell wall after watching, rewatching, sharing, and then watching again BigWalleze nine-minute DIY Plaster Patching and nineteen-minute Restoring Original Plaster youtube videos. Thankfully, Rory’s advice and the products from Plaster Magic worked! Here are the before and after videos of the experiment.
Video 1:02 / K8’s experiment with BigWalleze process
Part Three: Calling in the Experts
While K8 felt confident after the minor success in the basement stairwell, a second floor hallway repair needed expertise. The issue: a widening vertical canyon of plaster and brick in the party wall on the second floor—or at least our side of the party wall. Thankfully, the canyon is now stabilized: Tyrone Lester (Typex Masonry) secured the brick with mortar and Barry Bush (Barry Bush Home Improvements) repaired the plaster. (If/when K8 finds the before and after pics, they’ll be posted here!)
Hindsight
Mia culpa! Decades ago (yes! decades ago…) K8 made the mistake of using joint compound for drywall (aka sheetrock or gypsum board) on her sister’s plaster walls in Saint Paul MN. This was a very bad idea and it made the situation much worse. There’s a reason nearly every single video about plaster repair warns against the use of joint compound: it just doesn’t work well with plaster. Lesson: own your mistakes. Other lesson: research.
PS
Drywall, sheet rock, or gypsum board are basically the same thing: plaster as board. The technology was developed sometime around World War II and gradually replaced the more labor intensive plaster for wall finishing. The board and the plaster both have their enthusiasts and detractors, but pretty much all agree that the time-consuming repairs require know-how and technique.
